Planting to Plate in Just 15 Days
OUTDOOR MICROGREENS OFFER QUICKEST REWARD FOR YOUR GARDENING EFFORT
In a world of two-day shipping, internet movies-on-demand and pizza delivery in 30 minutes, sometimes waiting for anything can be hard.
So when a new gardener begins eagerly planning for the upcoming season and turns over a seed packet only to see “90 days to maturity” glaring at them, waiting that long for a harvest can seem like eternity.
For quick results that put early garden goodness on your plate this spring, gardeners can consider growing microgreens. Packing a big culinary punch, it is no wonder these tiny seedlings have become the darlings of chefs and professional growers.
“Microgreens are seedlings of a variety of vegetables, and can add unique flavor, texture, nutrition and colors to salads and other dishes,” says Vijai Pandian, horticultural agent and educator for the University of Wisconsin-Extension Brown County.
While microgreens are typically grown in greenhouses and indoors in flats, if home gardeners are willing to roll the dice with unpredictable spring weather, planting microgreens outdoors offers gardeners a quick and inexpensive way to grow these little nutrient-packed wonders without added infrastructure or investment in trays.
Pandian notes microgreens are broadly grouped into fast-growing and slow-growing varieties. Fast growers take around two weeks to reach harvesting stage while slow growers require about three to four weeks. Common fast-growing microgreens include red cabbage, kale, purple kohlrabi, mustard, radish, spinach and lettuces. Common slow-growing greens include amaranth, arugula, carrot, chard, mustard, basil, cilantro and fennel.
Garden seed catalogs offer the greatest selection of microgreen seed mixes bred for ideal flavor combinations, Pandian says. He points gardeners to Johnny Seeds, Territorial Seed and Burpee as companies that offer microgreen seed mixes blended for color and flavor combinations.
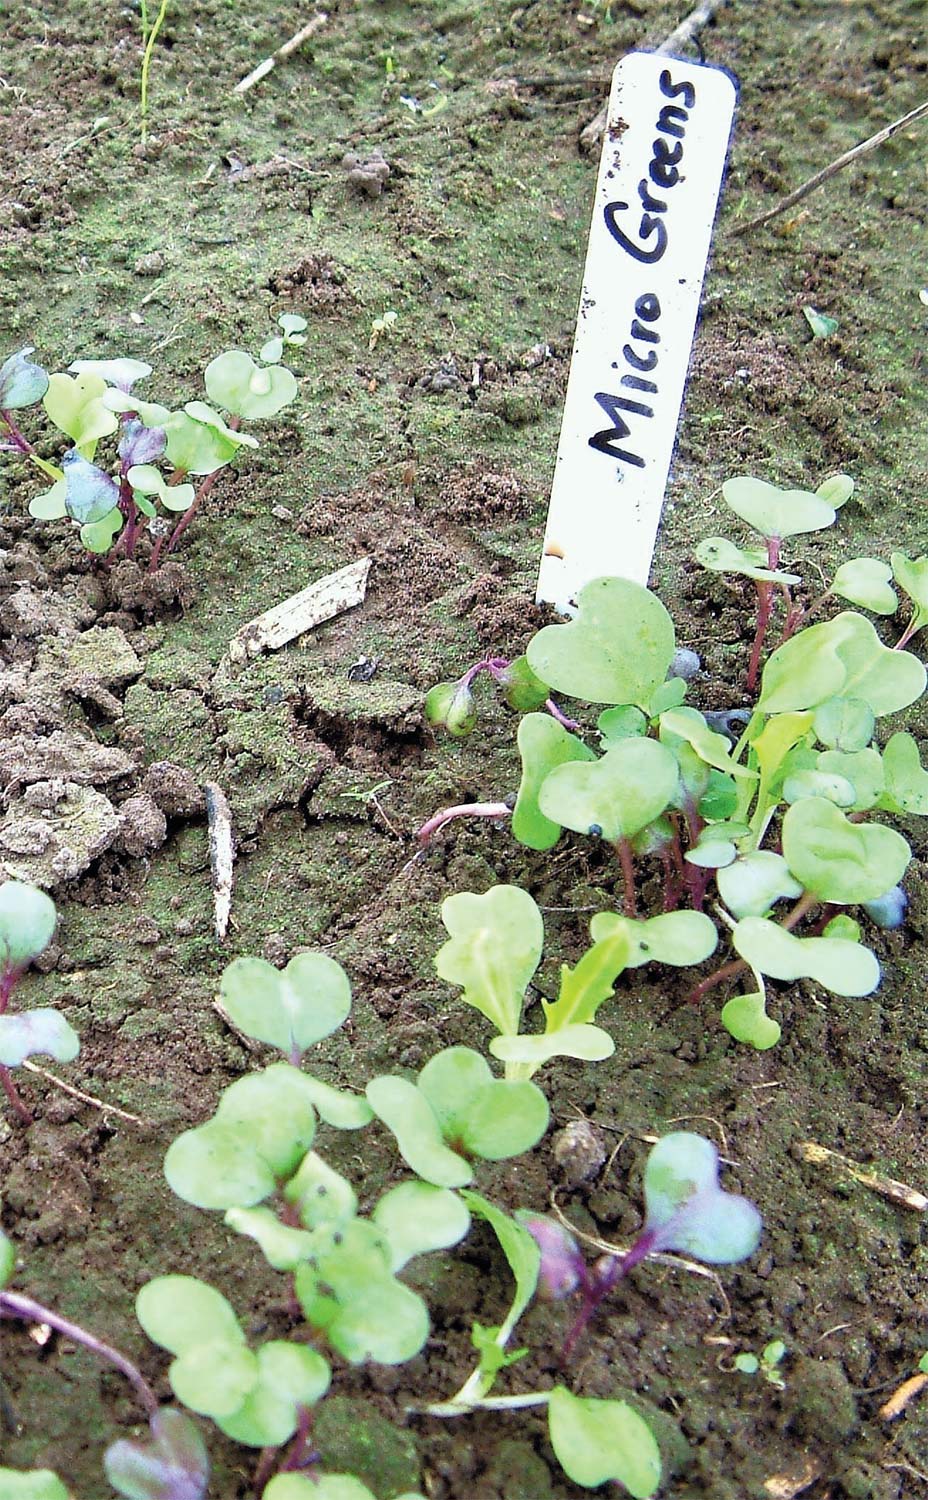
Gardeners interested in growing microgreens should look for a patch of garden with loose, well drained soil. As an efficient use of space, Pandian notes that gardeners may also consider “interseeding” or planting fast-growing microgreens between the rows of longer maturing crops.
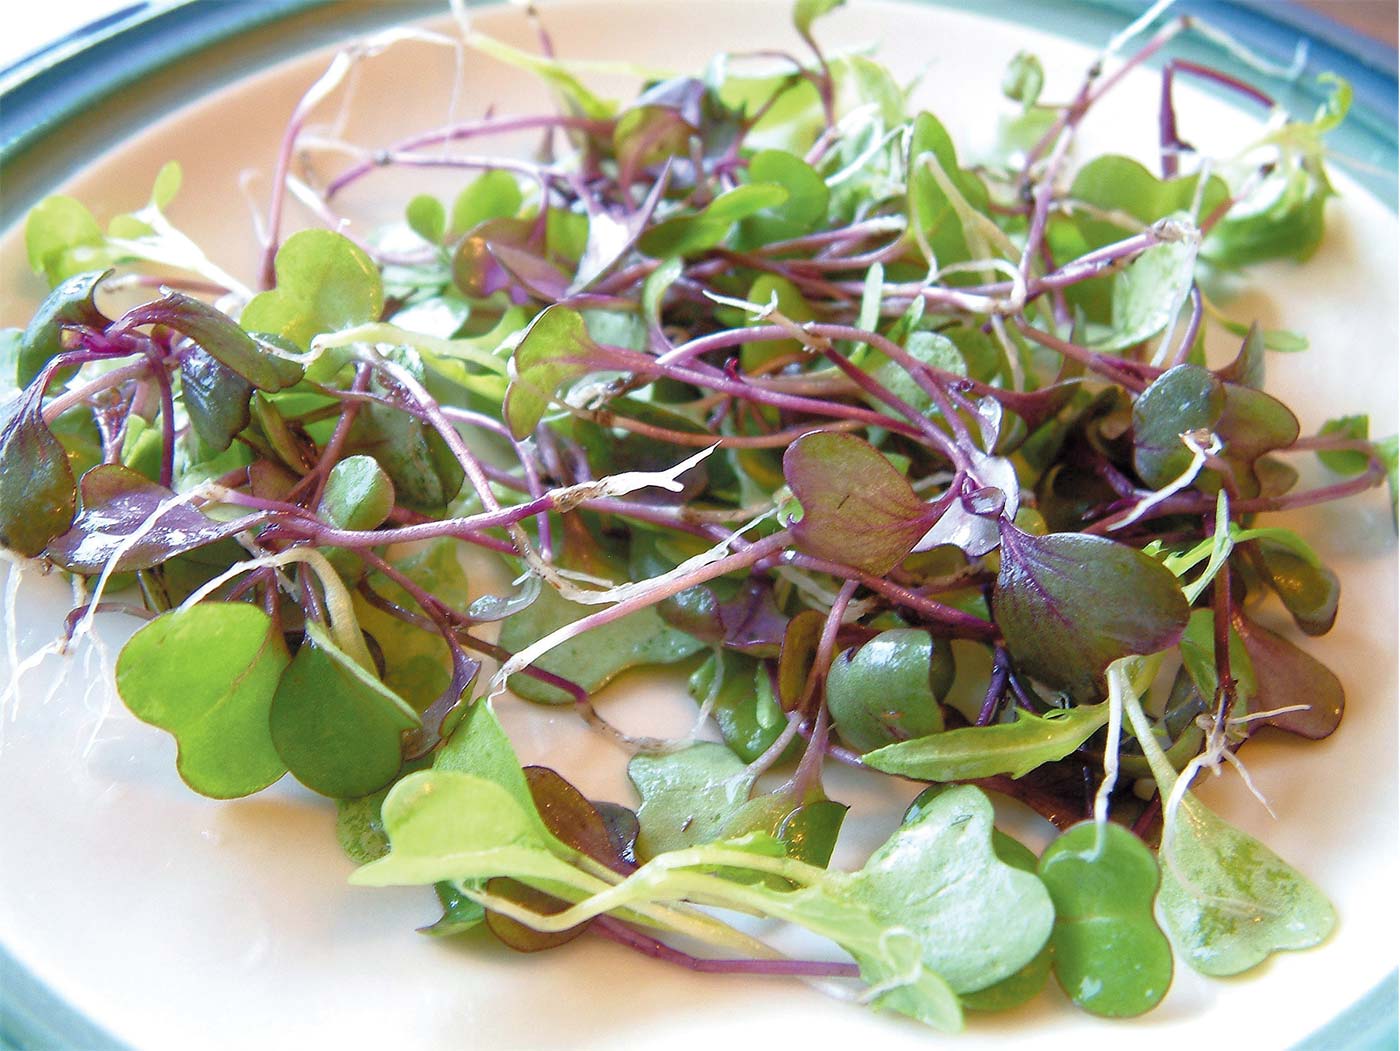
 Red cabbage, mizuna, purple kohlrabi and red Russian kale microgreens provide early produce to harvest for anxious gardeners.
According to a study published in the Journal of Agricultural and Food Chemistry, microgreens average five times the vitamin content of the mature version of the vegetable.
To determine when the seeds can be planted, gardeners can use a kitchen meat thermometer to measure the soil temperature by inserting it three to four inches deep in their planned planting area, waiting 20 seconds for a result, and doing that for three days. Once the temperature averages 45 degrees, seed can be planted.
Soil should be tilled or worked, loosening it to allow the tender seedlings to grow well. Pandian recommends amending the soil as needed by adding compost or peat to achieve lightness.
Once the soil has been prepped, it should be evened out to provide a level area for the seeds. Seeds can then be broadcast over the soil at a density recommended on the seed package for the variety gardeners are using, followed by gently raking or brushing them into the surface of the soil.
To cover the seeds and also to help retain moisture, Pandian says to sprinkle a light layer of fine mulch or sand over the seeds before patting the area down gently to achieve good seed-to- soil contact.
“The soil should be kept moist, but not wet. With exposure to sun and wind outdoors, the seeds can dry out,” Pandian says. As the seeds germinate, sprout and grow, gardeners should keep feeling under the mulch or sand to ensure the soil is moist to a depth of ½ inch.
He indicates gardeners will realize the maximum nutrient benefit when microgreens are harvested 2-4 inches high with 3-4 true leaves. According to a study published in the Journal of Agricultural and Food Chemistry, microgreens average five times the vitamin content of the mature version of the vegetable.
When the microgreens are ready to harvest, a cluster of tops can be gathered in one hand while the stems are snipped at the base with a scissors or clear cut with a chef knife. While most microgreens will only provide one harvest and will need to be reseeded for continued production, Pandian notes that microgreen spinach and lettuce are types that can be reharvested as they regrow.
Once harvested, the microgreens only need to be rinsed to remove loose soil and patted dry. If not immediately used after harvest, microgreens can be stored in the refrigerator for four to five days. Pandian recommends waiting to rinse right before use so the delicate microgreen leaves stay fresh. Then they are ready to take their rightful place on a top of a salad, steak, fish or any other creative way you use to up your stock as a home chef with both culinary flare and a green thumb.