Anatomy of a Raised Bed Project
ARE THE BEDS WORTH THE COST AND LABOR? YES!
“Honey…will you please water the pots on the deck when you get home from work?” I ask in June.
“Again? I just watered them yesterday,” he says.
“Yeah, but it’s been hot and sunny, and they’re dry already. I’ll water them in the morning before work, but please check them in the afternoon?” I beg.
Repeat this conversation for the next two months.
Fast forward to December. While I’m flipping through seed catalogs pondering my order and when to start seeds indoors for planting, he looks at me and says, “Are we going to spend the summer watering vegetable and flower pots again?”
“Weeeelllll, if we want homegrown veggies (which we both love), yes. Or…,” I trail off, hinting.
“Or what?” he asks, knowing this tone means a project.
“We could build raised beds!”
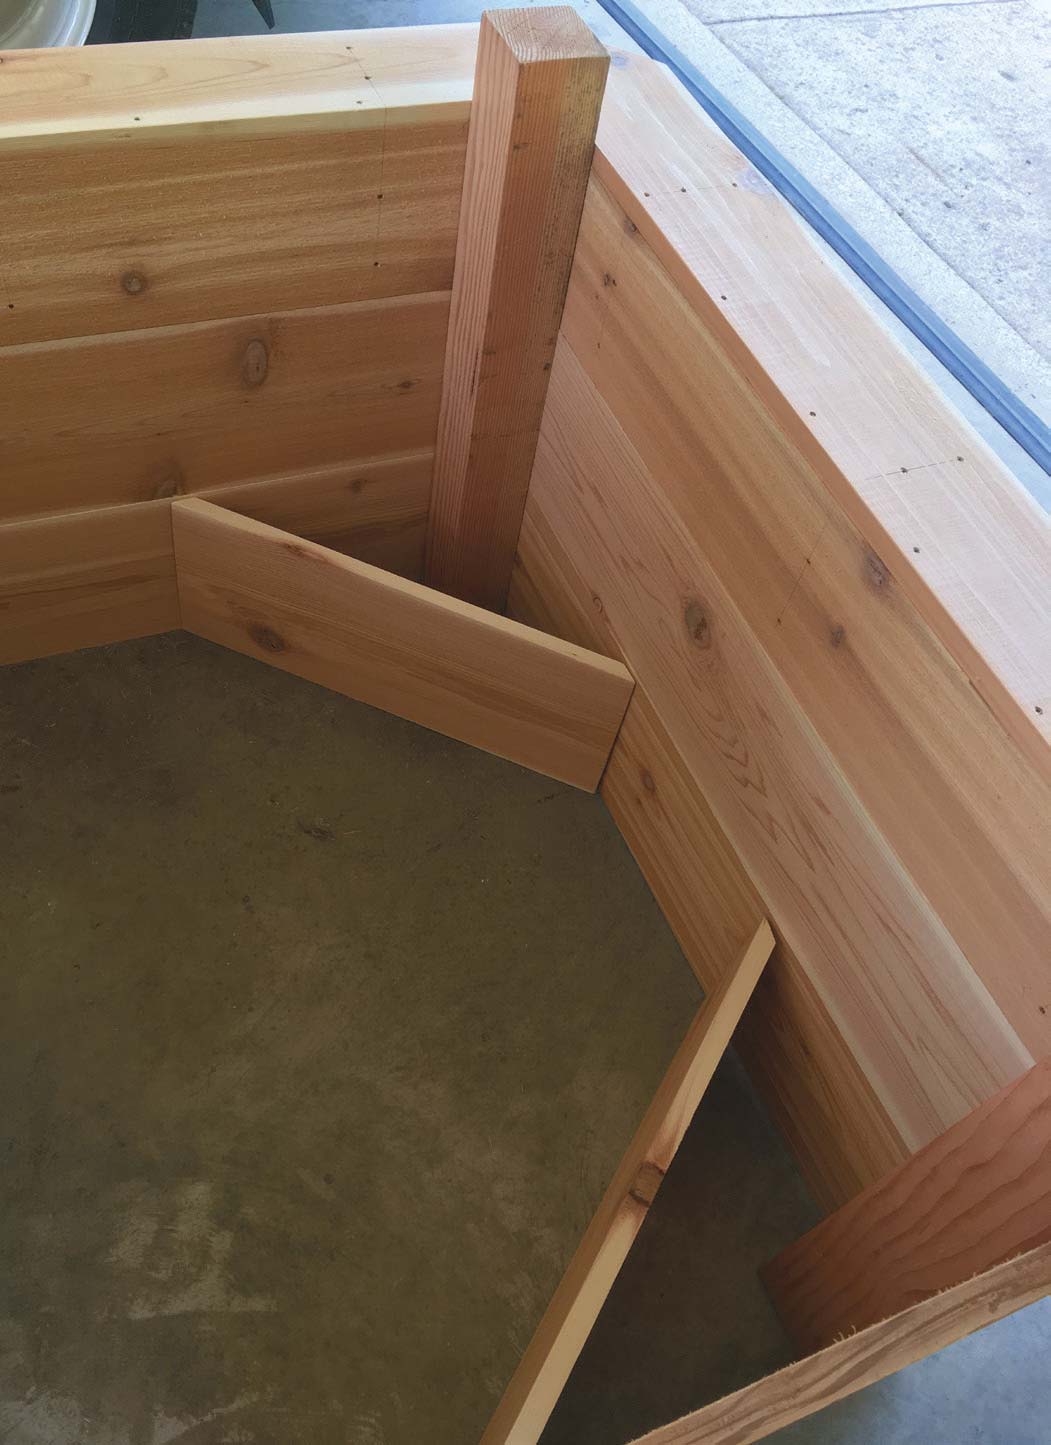 Interior box construction.
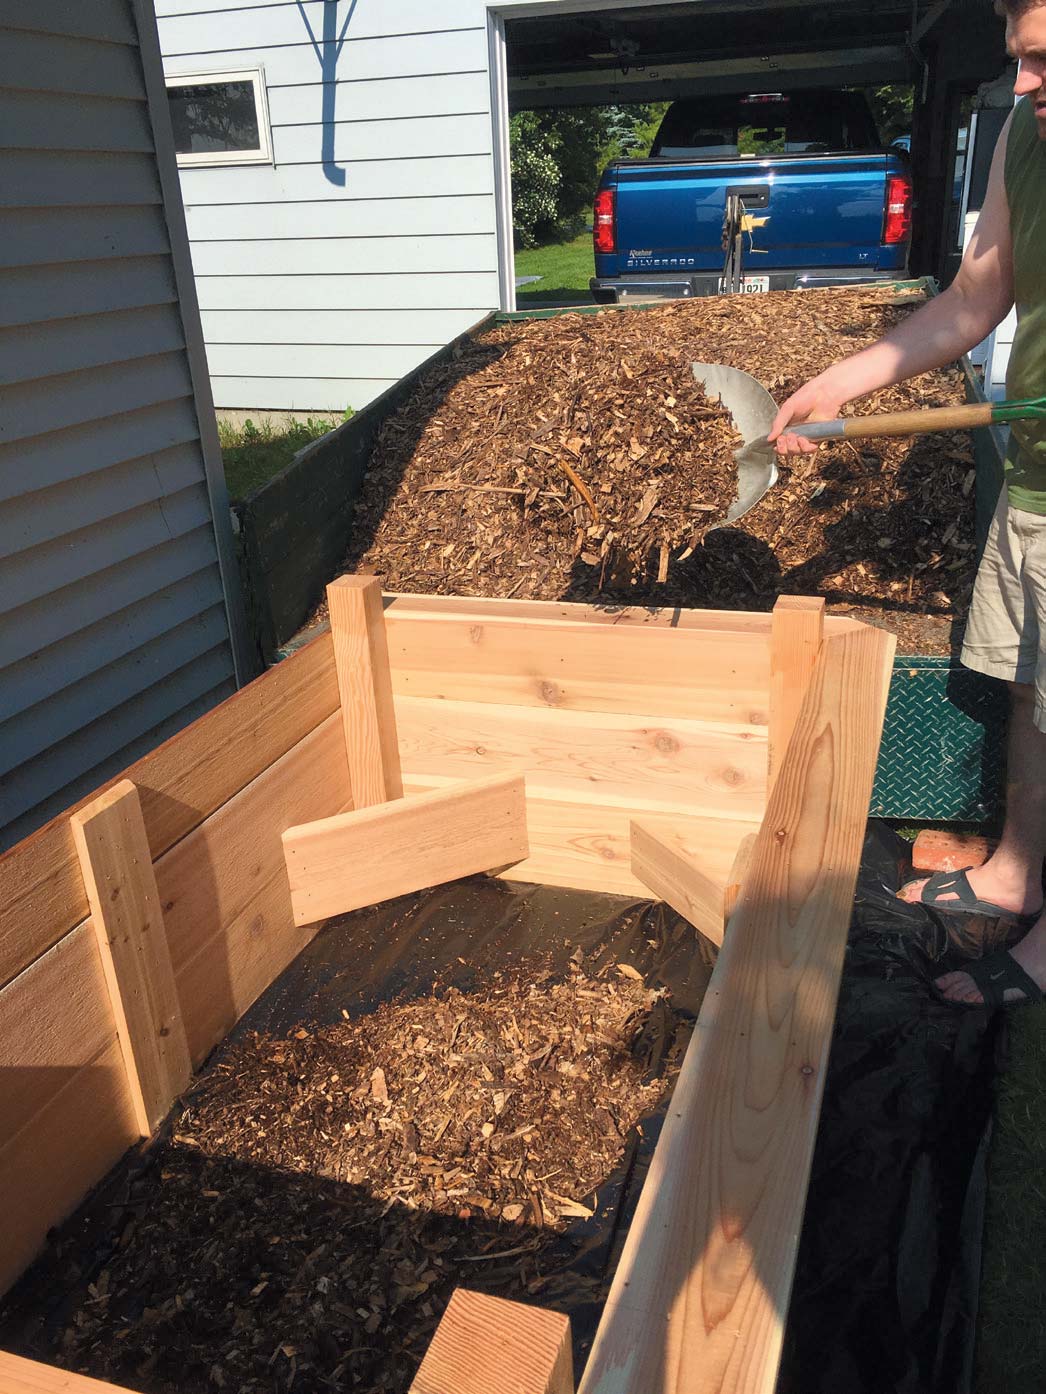 To fill the beds, we used a 3:1 ratio of about one and a half yards of mulch to clean fill dirt.
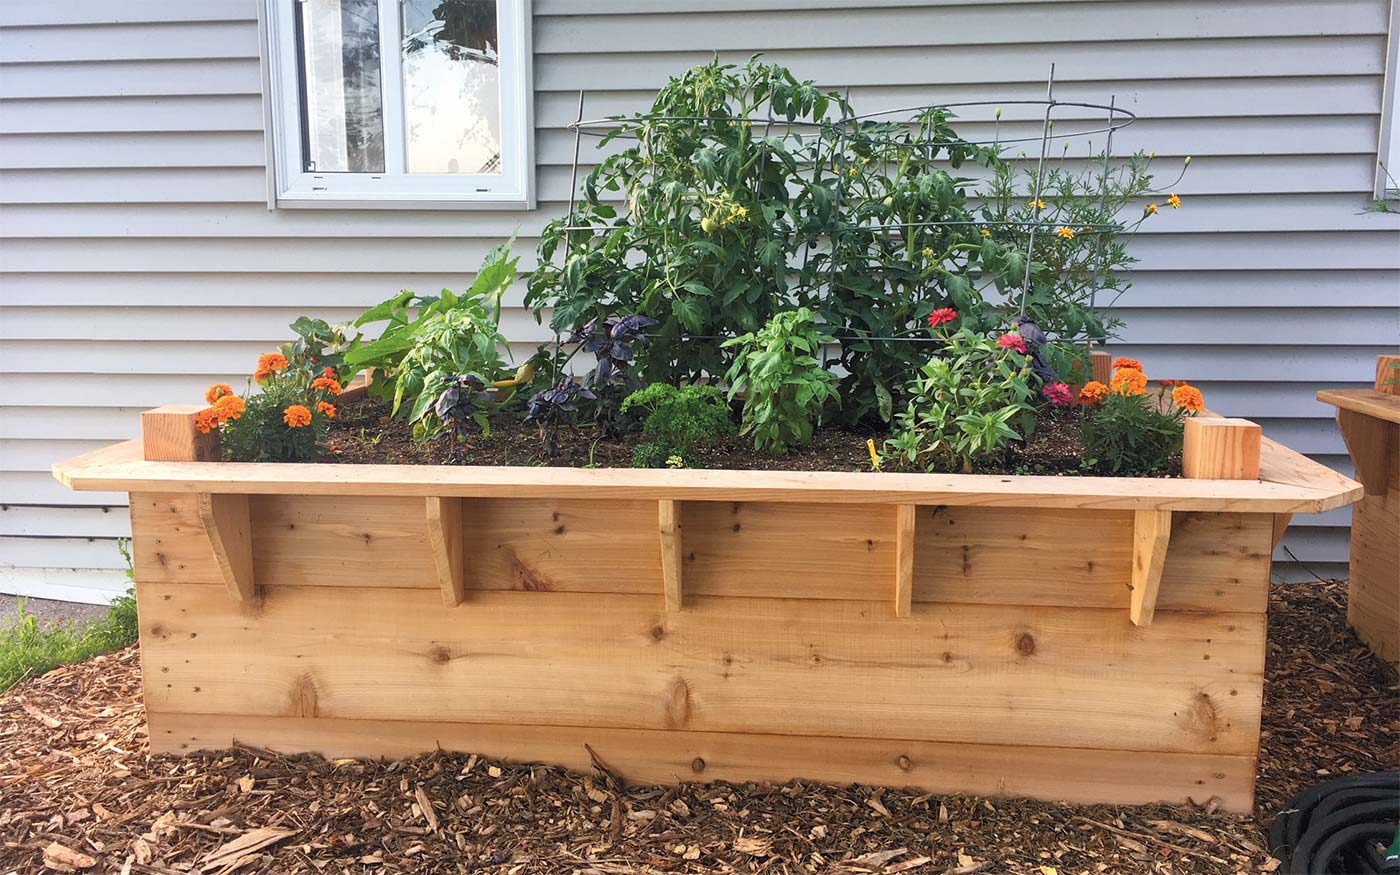
Thus began the creation of two, 4’W x 6’L x 2’H raised beds made of red cedar. The advantages of dating an engineer are many, especially one who grew up with a father who’s also an engineer, part lumberjack and part woodworker. Within a week, my motivated engineer had drawn up a sketch of two rectangular raised beds. I requested a board on top, for sitting and for setting hand tools. These beds are located on the southwest side of our boathouse, a great windbreak for the almost constant winds our west-facing yard is exposed to.
If you do not have an engineer in your life, there are a variety of raised bed designs online requiring little more than a drill, hammer and sometimes a saw. Some bed designs are as simple as using cinder blocks or pallets. I don’t recommend pallets or railroad ties – the wood contains chemicals that can leech into the soil and be absorbed by your plants and produce, causing disease and reduced productivity.
Buying the lumber, screws, sandpaper and Thompson’s Water Seal totaled $600, on sale. We factored in enough wood to our purchase to add angled braces for reinforcing the sitting board and corner braces on the inside to strengthen the walls.
The actual construction and installation took about two weekends. Thankfully we had minimal blood loss and few impenetrable Door County rocks to work around when flattening the ground for installation.
There are a variety of ideas for sealing the beds to minimize soil leakage and to keep weeds like crabgrass from growing into the beds. I used HDPE2 plastic liner (frequently called pond liner), for its durability under UV and ozone, minimal chemical leeching and low cost . I only used the liner along the ground under the beds and about a foot around each bed to keep weeds from encroaching.
The boards were screwed tightly together with “lap” boards on the center of each wall to keep bowing at a minimum. The wall boards were anchored to 4”x4” posts (also cedar), sealed with Thompson’s on the flat top and sides. We also water-sealed the flat boards on the top of each bed.
To fill the beds, we used a 3:1 ratio of about one and a half yards of mulch to clean fill dirt. The mulch was from Door County Tree Tech, located near Maplewood. DCTT owner Ben Polster keeps his mulch clean and makes sure there’s no metal or weeds. For planting into, we used about two yards of clean fill dirt from Rass Excavating and Materials in Nasewaupee, as recommended by Meissner Landscape in Sturgeon Bay. Both businesses will load onto your trailer or truck bed, or deliver (for a fee).
In the fall, add leaves to the top of the beds (chopped up by a lawn mower first works best), grass clippings from an untreated lawn, and any sticks raked from your yard. Spread around to cover the tops of the beds. As this breaks down during winter, especially under cover of snow, it will add helpful organic matter to the soil which helps plants grow.
Raised beds may also need soil amendment from year to year, depending on your garden practices.
Your local UW-Extension office can assist with a soil test, or direct you where to get one and then advise on necessary soil amendments.
Are the beds worth the cost and labor? Yes! My father just replaced his cedar raised beds after 20 years of use. Cedar is also a natural pest repellant. As red cedar ages, the grain absorbs water, changes the color of the wood and takes on a beautiful life of its own. While pot watering was still part of our summer routine, the plants grown in the raised beds produced prolifically and needed watering only every few days.
ENGINEER SUGGESTIONS:
Cedar is expensive. An alternative to consider: treated pine. However, most treated pine from a lumber yard is not dry when purchased. Allow 6 to 8 weeks for the boards to dry, in temperatures above 32 degrees. Stack the boards outside (or heated building) with 1/2" between each board. Cover the top (not the sides) with a tarp or metal sheeting, to keep water and snow off the boards. The boards will discolor and get small cracks on each end when they are dry. Wood shrinks as it dries. If you build your box with wet wood, you will end up with gaps between boards, ends will warp and twist around your screws.